
C2C crochet technique for tying in ends.
I would like to share the technique I use for tying in my ends of a C2C (corner to corner) crochet project. I am not going to claim to have invented this technique myself. I started doing it on my own without being showed how by anyone else, but I realize that doesn’t mean this was the first time anyone had used this method. If I did invent it, yay for me! It shall be a secret no longer…
If you are new to C2C crochet https://3amgracedesigns.com/ is an excellent resource that I highly recommend. They have video tutorials, crochet-alongs, and many free patterns (not just C2C patterns- check out all the cute Kawaii cuddlers! – I made this one). I personally subscribe to their emails for new releases and follow them on Facebook.
I use this method when tying off an end or when adding a new color to my C2C projects. This doesn’t eliminate ends all together but it does make it so the only thing you have to do is trim the ends, because they are already knotted and crocheted over (by 3 stitches). Alternately, I have been really into adding a fleece backing to my blankets and this means I can just pull all my ends to the back of the project and cover them with the fleece. More on this at the end.
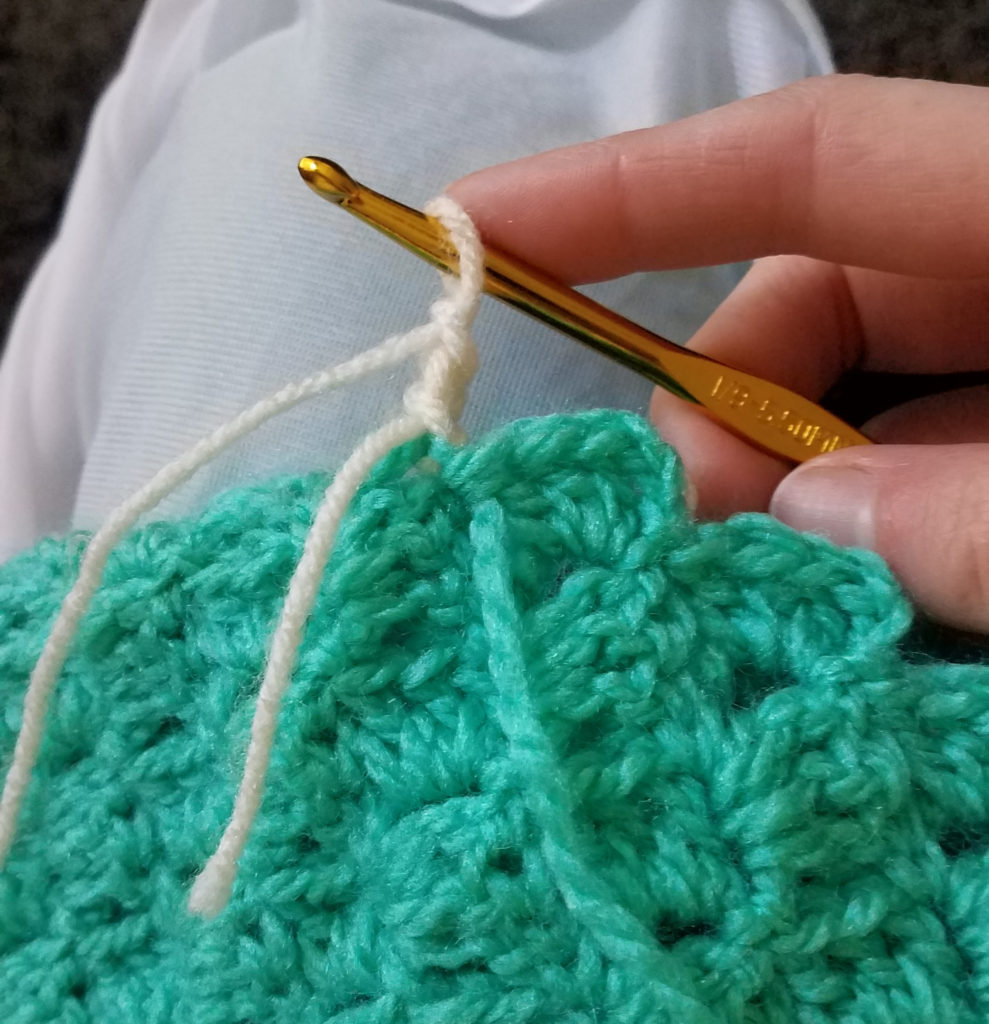
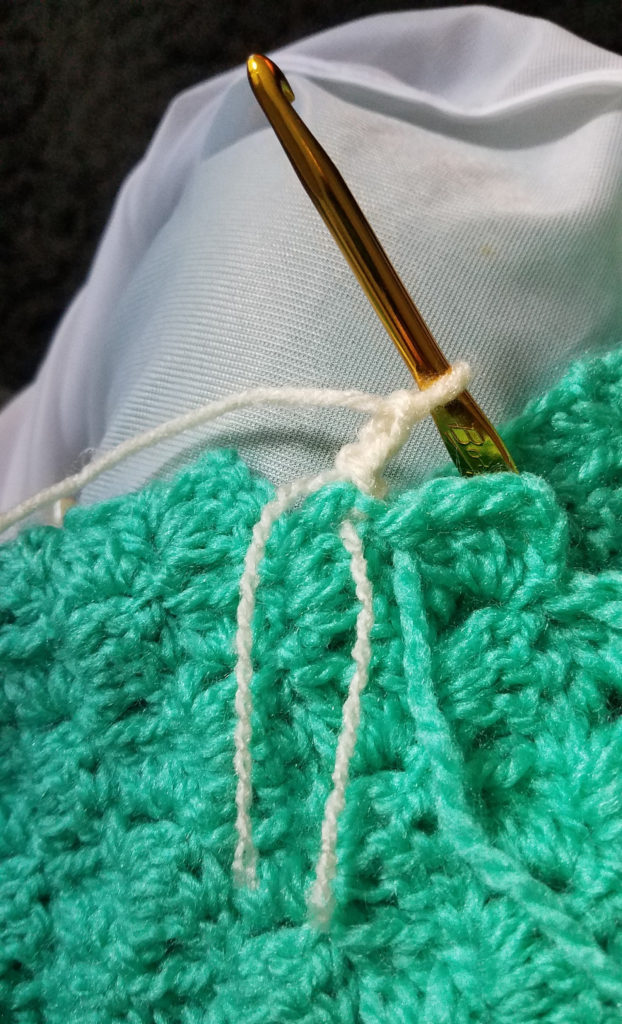
In the photo below I have made a color change from teal to white. The white is being added on. So this is normal so far and normally you might just leave that tail as-is and weave it in later but I want to secure it.
Next, I unravel the yarn tail.
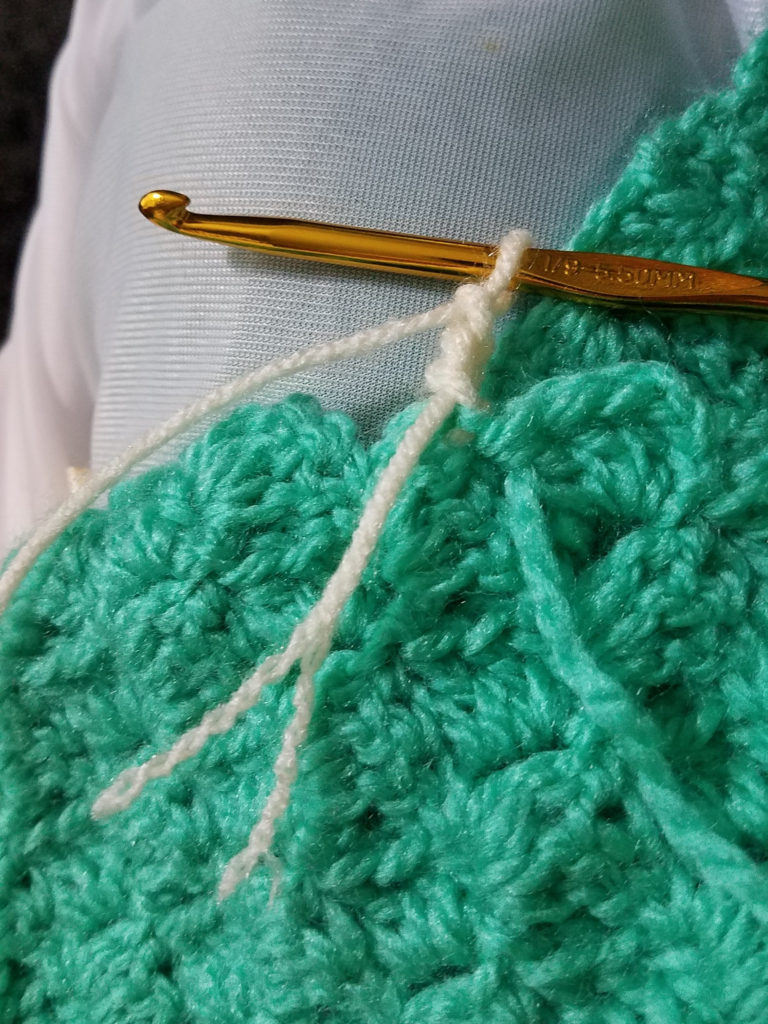
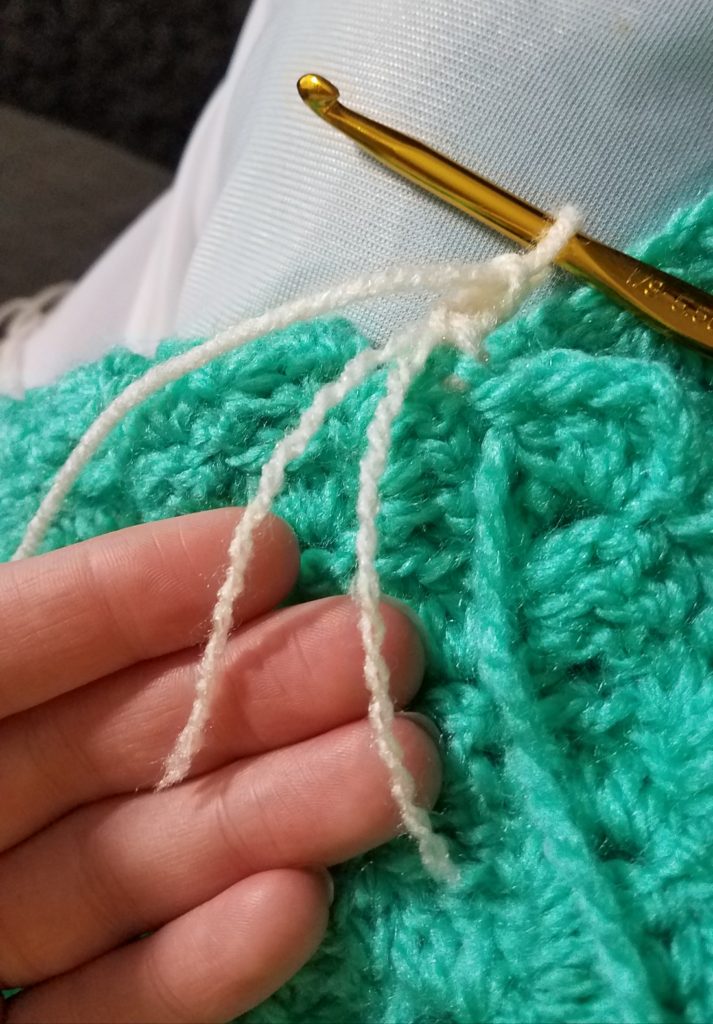
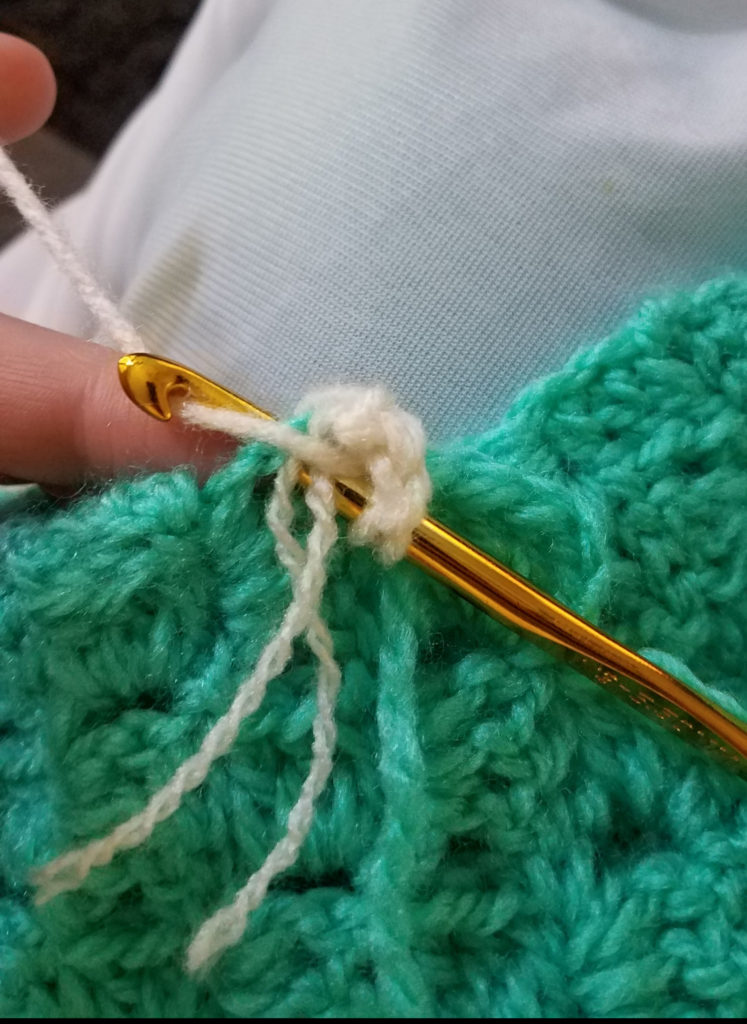
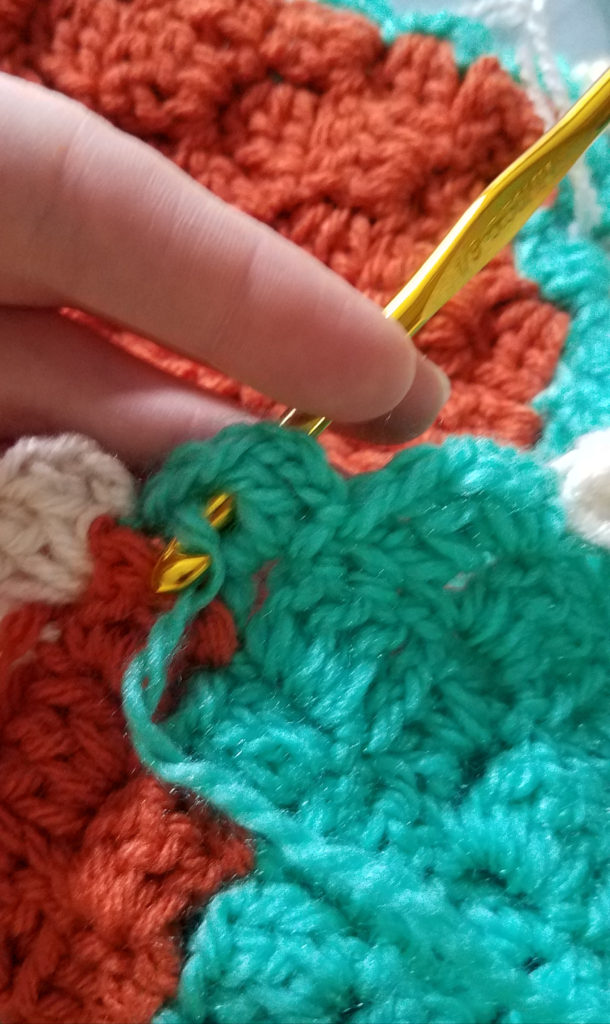
Now, I thread one end through the chain that I am working in and tie the ends together in a knot (I usually double knot it). So now the tail is securely tied to itself and the teal chain I am working in.
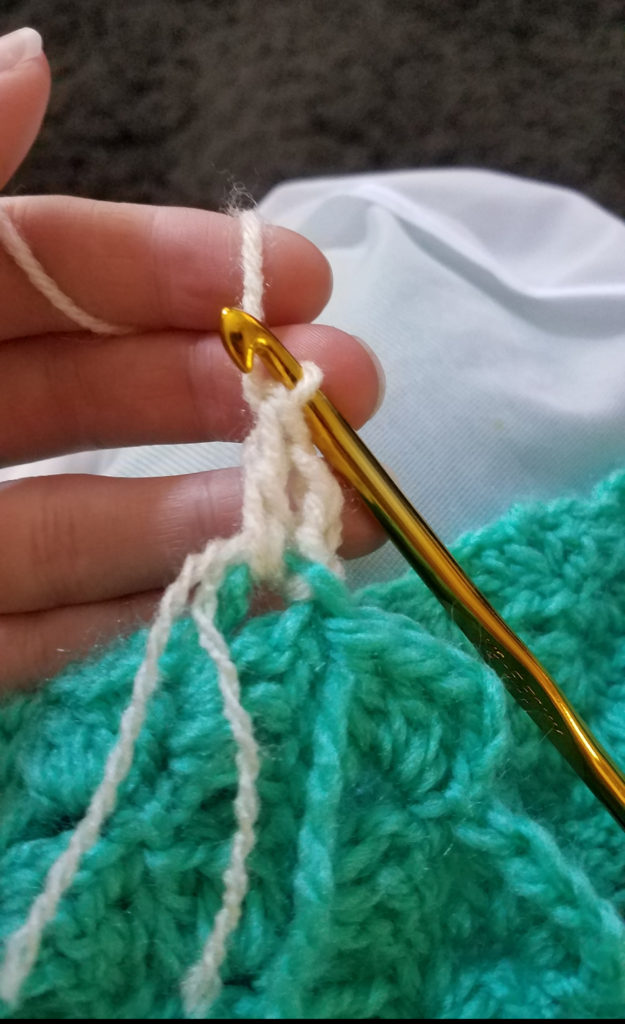
Next, I continue working this square like normal (3dc) while crocheting over the 2 tail strands.
Below you can see the completed square with 3 stitches over the tail strands. This is where you still technically have tails to deal with. I am comfortable cutting them since they are already tucked away and knotted. I also really like to add a fleece backing to my blankets lately, in which case I simply tuck the strands to the back and cover with the fleece.

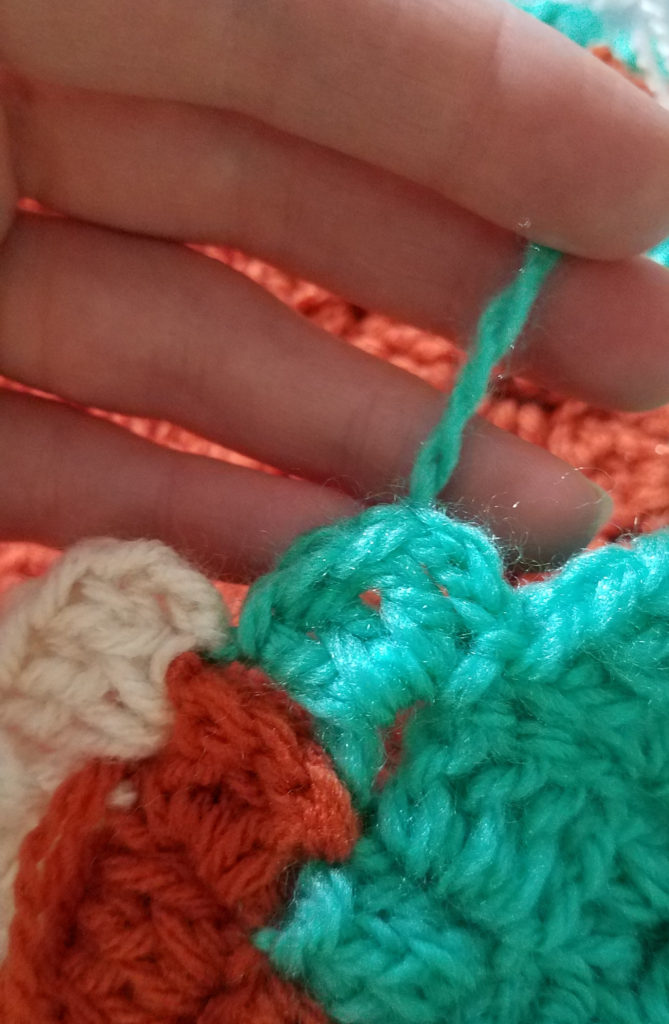
Next, lets talk about when you finish with a color and have the end left over (instead of adding a color like above). Below, you can see the teal end I am left with.

Due to the location of the tail (bottom corner of this square) the first thing I do is thread it to the top.
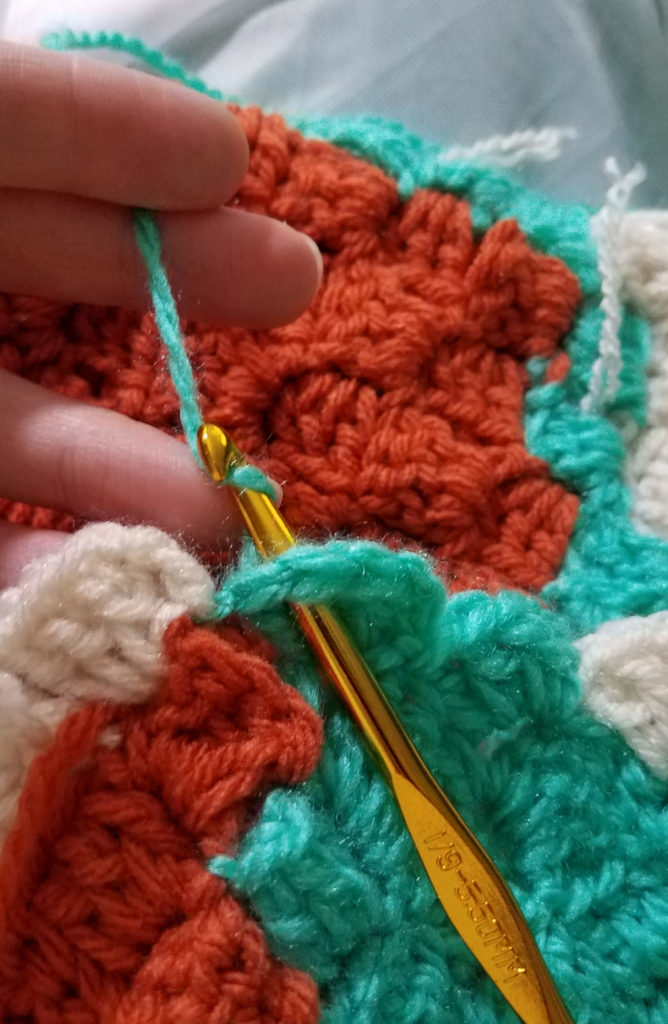
This is where the next row will be worked into.
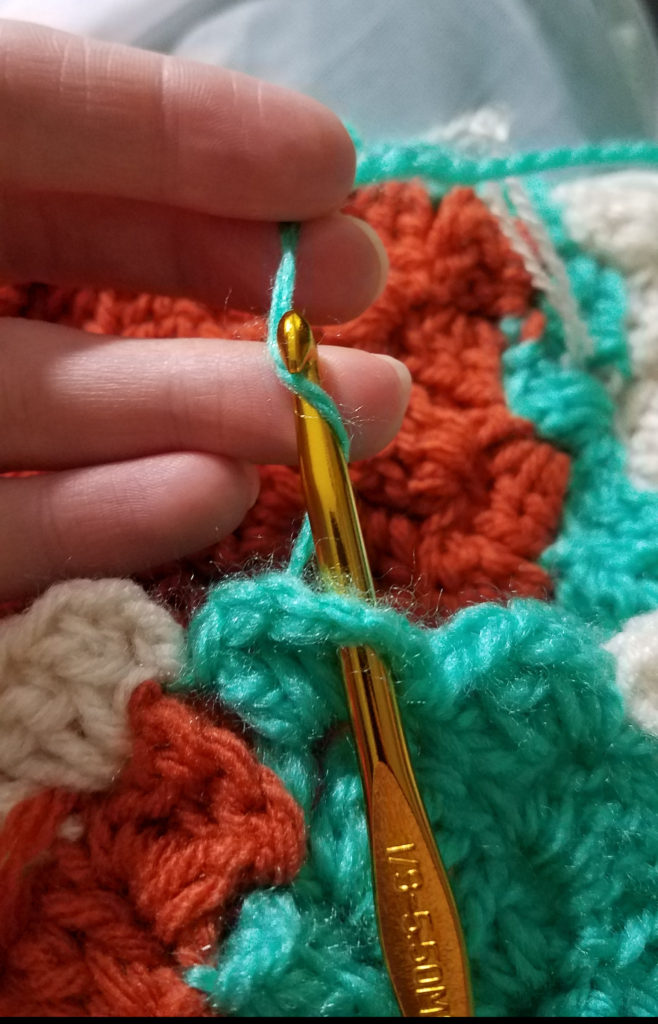
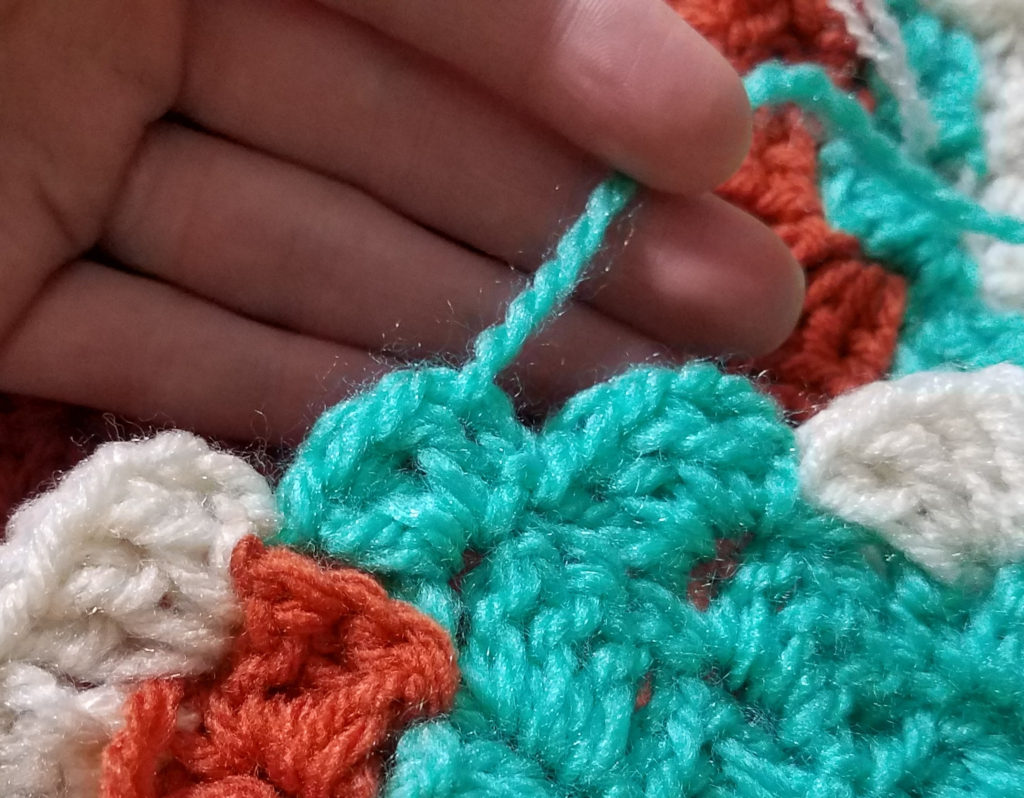
So above you can see the tail threaded to the top corner where it will be crocheted over when you come back around and work the next row. Below, I have split the yarn and tied it in a knot (double knot), just like I did when adding a new color (see white yarn added at the beginning of this post). So it is now secure and in the correct location to be covered by 3 stitches later on.

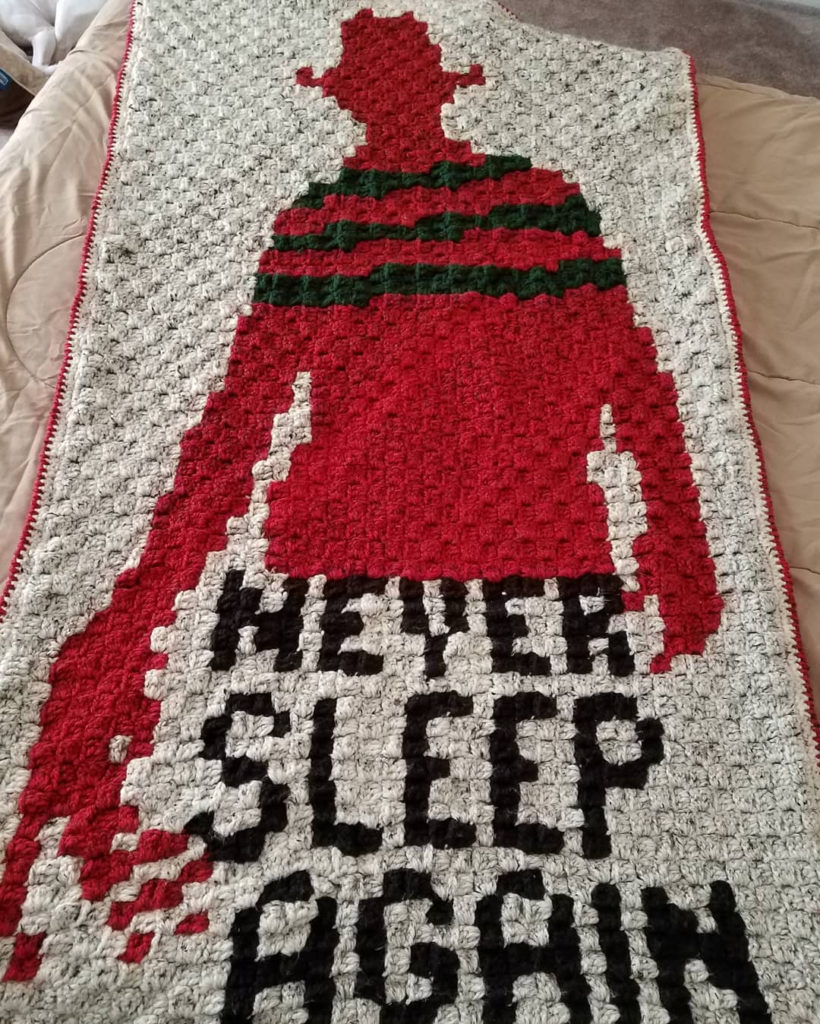
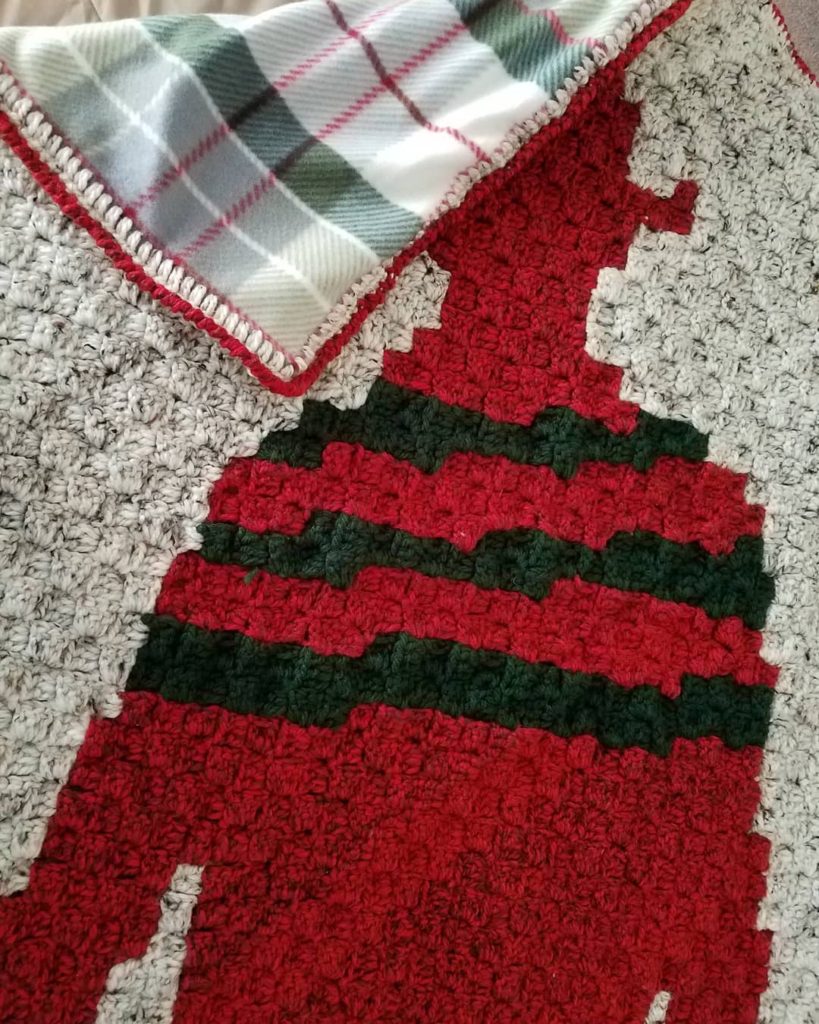
That’s it! Piece of cake, right? Please let me know if you have any questions what-so-ever. Below is the blanket I made for my husband. The first time doing a fleece backing and it turned out great! It really makes it that much more thick and cozy. I can’t sew so I used a skip cutter to make holes in the fleece and crocheted it together. I found a video tutorial on YouTube. There are several but this is the one I used.
Happy crocheting! Feel free to share your projects with me on social media too! I would love to see them.